Saturday 28 February 2015
Friday 27 February 2015
Shooting Diary
For
my shooting diary I am keeping a written diary of all the days of filming, of
when I did it and any problems that I had and how I overcame them.
Filming Day One
20/01/2015
Beverly
Train Station
As
I had problems with casting and having one of my actors pull out, I had to
change the dates back of filming originally from December now I am having to
film in January. However this is not a problem anymore because I now have to
trustworthy actors. Filming went really well, I managed to get all the filming
at Beverley train station and on the train it self completed in this first day
of shooting. It was difficult to get the necessary shots in the train station
because of people rushing around to catch trains, however we overcame this and
managed to get it all done without no major problems. In terms of moving the equipment
around there was a little difficulty as I had to keep changing sides of the
platforms to get the required shots for my video. Luckily the weather was good
for my first day of filming. I also had some issues with the framing and the
camera, as it was scheduled I had to film a moving train this proved quite
difficult because I had to get the footage with chance because of waiting times
in between trains. Therefore when I filmed the train I had to do it hand held,
when I watched the footage back it was quite shaky and unsteady however I am
hoping to stabilize the footage on the editing programme, so overall my first
day of filming went well.
Filming Day 2
19/02/2015
Hull
Train/Bus Station and Hull Arcade
My
second day of filming proved to be more difficult than my first day of
filming,
because it was the day I got the majority of the filming done with both my
actors Zoe and Dan. The day started out not so great because of weather
difficulties as it was raining for the majority of the day, luckily for me I
was filming inside. The was no problem organizing to meet up as I was filming
in town so everyone was able to travel there without much expense, as I am luck
enough to drive and Zoe and Dan both got the bus we met at Hull train/us
station where we began filming. The first issue we encountered was filming near
the railway tracks, this proved difficult as we was warned by a police officer
not to get too close to the edge, which was needed for my video, however we was
careful and worked around it. In term of carrying the equipment around to each
location this was no problem as I was able to drive us all to each location. In
the arcade this was the most difficult to shoot as people where constantly
walking through it and it was hard to get a shot with no one in the background,
also with the glass shop windows it was hard not to get equipment and
reflections of myself in the shot. We also we’re told to clean up any mess we
made with the bunch of roses, however this was no problem, even though I faced several problem I managed
to overcome them all and get all the footage needed.
Filming Day 3
24/02/2015
Built
up housing estate
For
my third day of shooting I once again had trouble with the weather, however the
rain somehow gave an effect to the footage in which I liked to I carried on
filming. For this day I had to have my actors walking down a main road, this
was a task, as we had to be careful with traffic and moving the equipment about
carefully so that it did not get damaged when we had to move it out the way of
the cars. Another shot I had to take was the smashing of the glass bottle, we
had to find a derelict wall where the smashed glass would be at no risk to
anyone, once we had found an appropriate please I had to get the shot which was
only a one chance shot, with the help of actors and practicing the shot before I
managed to get the shot with no problem, once again this was a successful day
of shooting.
Here is a video of myself on the actual third day of shooting, I believed this was the final day of shooting at the time but due to some footage that I wanted to reshoot I had another fourth day of filming.
Filming Day 4
26/02/2015
Built
up housing estate
As
I mentioned in my third day of filming I thought all my footage was successful,
however when I looked back at some of the footage I wanted to reshoot to get
better angles and I decided I wanted to reshoot the lip syncing part of my
video. This time round the weather was more appropriate for filming and I managed
to get some shots of the sky to use as an overlap on one of my shots. There was
no difficulties for this day of shooting the only slight problem I encountered
was the glare of the sun, however it creates a nice effect on the camera so for
my final day of shooting it was successful and no more footage is needed.
Sunday 22 February 2015
Ancillary text - Digipak explained

Front Cover - Title
For the cover title I have taken inspiration from various existing album front covers and incorporated the name of the album and the name of the artist. For example as shown in the print screen above the letters of the artists name are shown in black where as the album name is shown in the colour white, however as the album name is 'I'm a Mess' and in the artists name there is a letter 'a' so I have been able to merge the two together.
Album cover - Image
For the background image on the album front cover I have taken inspiration from a well known album, '1989' by Taylor Swift, as Taylor Swift uses an image that doesn't show her face because she is that famous and well-known there is no need to show her face as she is already recognisable just by certain styles.
Saturday 21 February 2015
Ancillary Text - Digipak
Digipak
This is my final design for my digipak, it includes both the front and back cover, spine and two inside panles and two discs. Throughout my design I have kept a consistent style such as a particular colour scheme, font style and pictures used. I have tried to follow conventions as much as possible from what I have researched.

After having my teacher look at my digipak design, he
pointed out a few issues that needed to be addressed and changed. Firstly I had
put spines in places that did not actually need spines, so I just deleted them
out, and finally on the top right background I had placed the text the wrong
way up, so I had to rotate the text round to correct the mistake. Below is the
final design with all the mistakes corrected.

Photos for Ancillary Text - Digipak
Photos for Digipak
For my digipak I had the idea to use roses, similar to Lana Del Reys 'Born to die' album. So therefore I had to take pictures of real roses to edit onto my digipak template. Here are some of the pictures that I have taken;


As explained above these images are going to be used for my digipak, the images shown are just a few from what I have taken, however they show that I have used different angles and lighting to create a variety for me to choose from when it comes to designing and producing my digipak.
I also decided to see how my idea would look on a physical CD, here is an image of how I would like my digipak to look like using a blank CD and a rose.

Obviously there will be no middle on the CD template, but I like the idea that the petals will be placed around the centre of the CD making the illusion as though it is a rose. When it comes to producing my digipak I want to keep the colour scheme simple such as the rose petals staying red but incorporate a black and white theme. The reasoning behind the rose theme is that within my music video the bunch of roses is a symbolic prop used throughout.

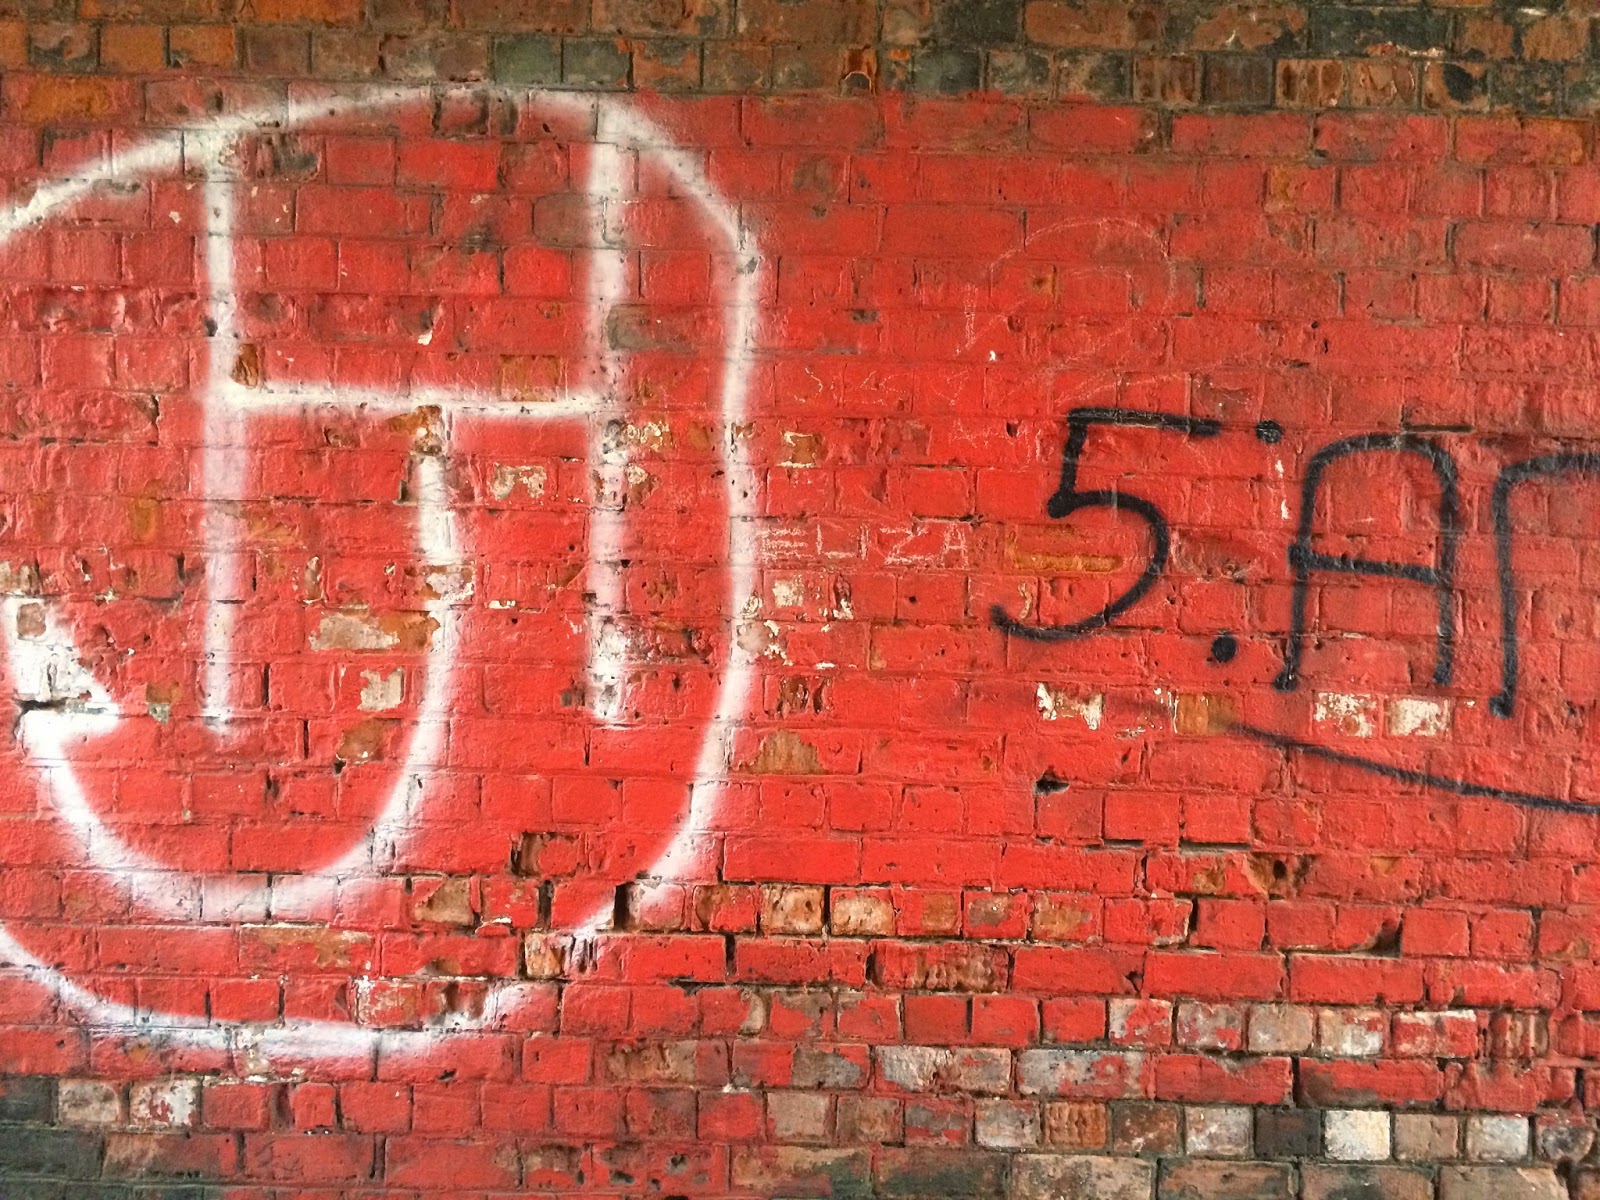


The above images are also original images that I have taken for my digipak, as within my design I want to incorporate a graffiti style because of the genre my artist is associated with. It was initially hard to find useful and inoffensive graffiti to use for digipak, however I managed to come across this graffiti when walking my dog down a pathway leading to a playing field.
For my digipak I had the idea to use roses, similar to Lana Del Reys 'Born to die' album. So therefore I had to take pictures of real roses to edit onto my digipak template. Here are some of the pictures that I have taken;
As explained above these images are going to be used for my digipak, the images shown are just a few from what I have taken, however they show that I have used different angles and lighting to create a variety for me to choose from when it comes to designing and producing my digipak.
I also decided to see how my idea would look on a physical CD, here is an image of how I would like my digipak to look like using a blank CD and a rose.
Obviously there will be no middle on the CD template, but I like the idea that the petals will be placed around the centre of the CD making the illusion as though it is a rose. When it comes to producing my digipak I want to keep the colour scheme simple such as the rose petals staying red but incorporate a black and white theme. The reasoning behind the rose theme is that within my music video the bunch of roses is a symbolic prop used throughout.
The above images are also original images that I have taken for my digipak, as within my design I want to incorporate a graffiti style because of the genre my artist is associated with. It was initially hard to find useful and inoffensive graffiti to use for digipak, however I managed to come across this graffiti when walking my dog down a pathway leading to a playing field.
Fonts
For my ancillary texts, actual text will be written on both the digipak and poster therefore I have started to look at different styles of font. A specific site I have used is to look at these fonts is DaFont, here are some example of the fonts that are available from this site to use on my ancillary texts.


As you can see at the top of the page are headings of the fonts available and a list of all the different styles, this is site is really useful as it doesn't just allow you to explore and try out different fonts it also gives a step by step guide on how to install the specific type of font you want. Below are some examples of the specific fonts I liked from DaFont.
After selecting a specific font I liked, I can preview the style with my own words, as shown below;
Subscribe to:
Posts (Atom)